Asaf's Homemade Pita
Israeli born chef and food photographer, Asaf Razon has been cooking privately in NYC for the past few years after moving here with his wife.
Asaf spent most of his culinary career, catering boutique and large scale events in Tel Aviv and all over Israel where he honed his experience using some of the best ingredients and techniques, especially in the area of bread baking.
He shared with us his delicious Jerusalem Bagel recipe which has been one fo the most popular on the site and guess what (shhhhh!!!!), his pita is a simple spin on the same recipe!
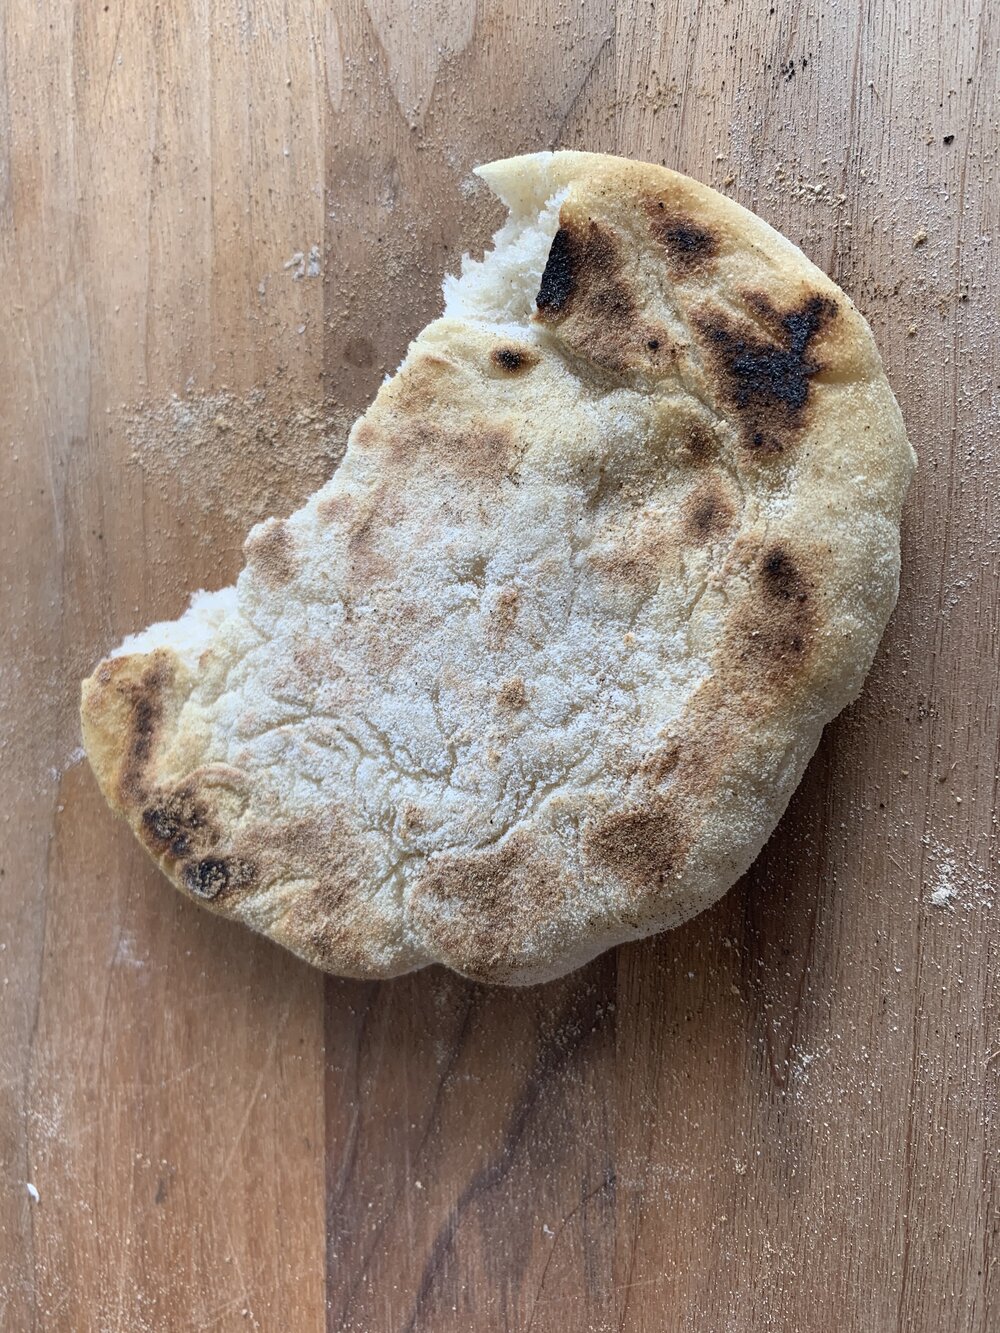
Prepared in a well seasoned cast iron skillet, this homemade pita is toasty on the outside with deep golden and almost burnished black spots and a warm and fluffy inside with its signature pocket. Because after all, if you are tearing into your pita and using it to dip into some delicious schmear, you definitely want to stuff your pita with all of the delicious things.
The pocket is achieved by using a very, very hot pan and allowing the bread to do it’s thing. Do not be tempted to budge and flip before it is deeply golden and the raw uncooked side begins to bubble slightly.
Making homemade pita is not as difficult as one would think! Served fresh and hot straight out of the pan with kebabs, tahina, home made amba, shawarma, falafel, chopped salad, bagabganoush or a variety of salads and mezze like homemade patlican salatasi, hummus, or smoked eggplant with rashes and herbs, you will feel deeply satisfied by the results of this bread.
 Asaf's Homemade Pita Photo by Danielle Rehfeld Colen
Serving Size: Makes 10-12 pita
Ingredients
 Photo by Danielle Rehfeld Colen
1 kg AP flour, plus extra
12 g dry active yeast (fleishman’s)
10 g salt
30 g sugar
500-600 ml warm water
3 tbsp. olive oil
Instructions
Mix yeast, flour and sugar in a mixing bowl. Mix all the dry ingredients with a dough hook until they’re combined on the slowest speed.
Add water into center, turn speed up one notch and once the dough comes together and becomes smoother ball, about 2 minutes, add the salt, incorporate and then add the oil. Once all is combined, knead for about 5 minutes until the dough is uniform, smooth, and hard but not sticky and forms into a ball. Place in a greased bowl and cover lightly with oil. Wrap very tightly with plastic wrap and place in warm place. Allow to rest about 45 minutes or until doubled in size.
Cover a sheet pan with a heavy sprinkling of flour. Turn dough out and flatten slightly into rectangle. Cut a piece off (about 100-115g) and form into a ball. You will form about 10-12 balls. Place on sheet tray spreading them apart slightly. Dust top lightly with flour and cover with a towel. If you would like to use these later in the evening or even the following day even better! the flavor will improve so at this point cover tightly with plastic wrap and refrigerate.
If using right away, proof until it increases in size by about 50%, about another 45 minutes or so or longer depending on the temp of your kitchen If refrigerating, remove about 1/2 hour before using and all to relax at room temperature before proceeding to the next step.
Heat a well seasoned cast iron skillet over medium high heat. Wipe the inside with oil using a paper towel just enough until pan is shiny (you are not frying so its just a nice wipe).
Dust a work surface with flour and pat a round of dough into a round disc. press down with your fingers to dimple the dough just enough flatten it. it should be very lightly dusted with flour so it doesn’t stick to the pan.
When the pan is extremely hot (it must be scorching hot), place the pita in the pan and let it do its thing without moving it. You can monitor by using a small offset spatula or knife to gently lift up the edge.
When the top of the pita, start to get some air bubbles and the bottom is crusty and brown, flip the pit to the second side. Cook another few minutes until the second side is good and toasty. You can flip back again to the first side for a few second for good measure. Transfer the pita to a sheet pan while working with the next piece.
Serve fresh and hot!
Cook's Notes
You can keep them warm in a 200 degree oven on a sheet tray for about 10-20 minutes OR you can freeze them once cooled down completely and warm in a toaster or oven direct from frozen! They freeze very well and it is more highly recommended to freeze then to cook the pita and use the next day. They really should be eaten fresh for best results.